[header.htm]

JLM 1272 to 1073 Switching Module  (Fully Assembled and Tested)

Features for JLM 1272 Switch Kit

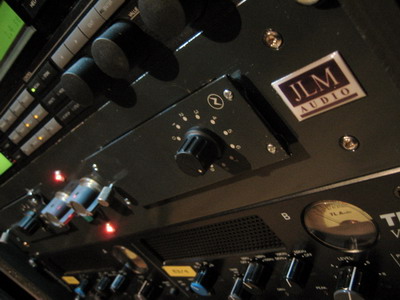
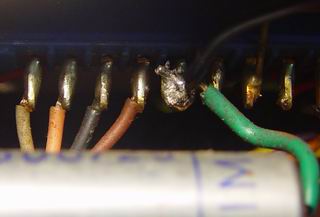
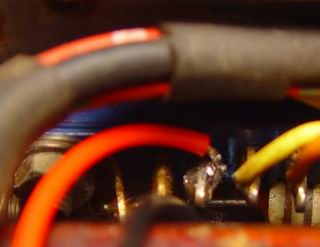
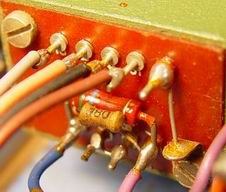
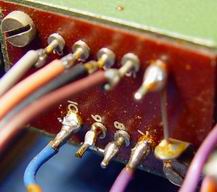
  1. Picture of new JLM 1272 to 1073 Switching Module with Dual Gang Switch and micro relay as third gang of Switch.  Also one Neve BA283 Pre Amp Stage and all parts on board to make a Neve 1272 into exactly a Neve 1064,1073,1076,1078 Neve three stage Mic Pre with 70dB gain. 12 x 5dB steps from 15 to 70. The Module mounts on the front sub panel of the 1272 by the bush of the switch. Only five wires to connect and two resistors which are supplied. Connections are +24v, ground, transformer input, BA283 input and gain control BA283 Pre.

Reviews

  • Hey Joe,

    I ordered on a Tues. and it arrived the following Monday morning. No customs hassles or duties, it was just sitting in my mailbox. The wiring instructions were thorough and made things easy to follow. When I had questions / trouble your quick replies to my emails made things much better. And the sound is awesome; I had previously tried to modify my 1272 for more gain using only the 1 b283 card but there is no comparison now to my big fat 1272 with the extra gain stage. Thank you JLM Audio!

    Doug Batchelder, Opium Den Studios, Boston MA USA

    Hi Joe,

    I have installed the 1272 kits and psu I got from you into a pair I racked myself. Congratulations, What a marvellous kit you have there :)

    My 1272s are bouncing with life !! Bright crisp and clean, what more could you ask for !!

    The things now have so much energy that I had to rack them with four rack nuts to stop them breaking out !!!!!!

    As for the psu, it does exactly what it says on the tin, but what stability ! ROCK solid

    Thanks for a great bit of gear. I'll be ordering more from you very soon indeed.

    Mark McCabe- FutureCode Productions Ltd. Dublin Ireland


Before you start

Disassemble the front of the 1272

  • Remove knob if one is fitted.
  • Remove the four hex screws in the corners of the front panel.
  • Remove the bracket holding the trim pot by unscrewing the two screw on the side holding it.
  • The big blue cap mounted to the sub panel may need to have its bracket loosened so it can slide down to make room for the JLM Module.
  • If using the knob provided with the JLM Module, slide JLM Module into position and mount it directly to the sub panel of the 1272 with the mounting bush on the front of the switch.
  • If you wish to put on an original Neve type knob the front sub panel needs to be removed and the JLM Module mounted to the Front Panel directly and the big Blue capacitor remounted to the bottom panel of the 1272.
  • Remount the front panel and fit knob.


The Wiring

The Trim Pot

  • Unsolder the original trim pot & bracket.
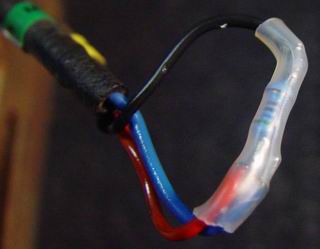
  • Solder the RED & BLUE wires from the trim pot together and solder them to one end of the 5.6k resistor provided.
  • Solder the Black wire from the trim pot to the other end of the 5.6k resistor and heatshrink them.
  • (The module will work without this resistor fitted. The 5.6k just adds a load to the second Class A stage like the pot used to for best sound quality)

The BA283 Connector

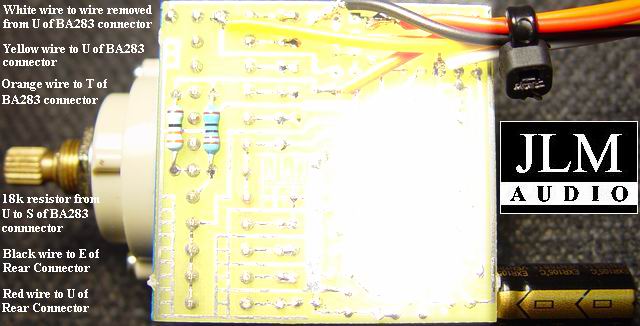
  • The GREY wire is removed from terminal U and joined to the WHITE wire from the JLM Module then heatshrinked.
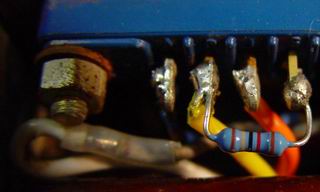
  • The YELLOW wire from the JLM Module to then soldered to the U terminal of the BA283 connector.
  • The ORANGE wire from the JLM Module is then soldered to the T terminal of the BA283 connector without removing the wire that is already there.
  • The 18k Resistor is now soldered between the U terminal and the S terminal of the BA383 connector.

The Rear Connector

  • The BLACK wire from the JLM Module is then soldered to the E terminal of the REAR connector.
  • The RED wire from the JLM Module is then soldered to the U terminal of the REAR connector.

The Input Transformer loading

  • Cut the 5.6k resistor and 180pF cap from the input transformer pins 7 & 10. (This is now provided on the JLM Module)
  • Note 1. Leaving the 5.6k & 180pF on the transformer will reflect a 600ohm load on to the mic instead of the original 1200ohm. This can be fatter sounding than the original Neve 1200ohm on transformer output condensers mics and dynamic mics because it impedance matches the two devices just like old valve gear does. So have a listen before you cut and after to see which you prefer.
  • Note 2. If running the output of the neve 1272 into modern 10k input impedance equipment place a 600ohm to 1k 1watt resistor across the rear connector output pins R & T. This also loads the output transformer properly for a fatter sound and is the way Neve designed it. Leaving of the 600ohm load gives a bit more tops and can be useful on some things.


Testing & Listening

  • After double checking all wiring, turn the switch fully to the left.  Do not connect anything to the input or output and power up.
  • If there is no smoke check that there is 24volts across the RED & BLACK wires at the JLM Module. If you are using a bench power supply it should show the whole 1272 module using about 110mA.
  • If  OK connect to the output and monitor on a set of speakers quietly.
  • Turn the switch to the right. At each 5dB step there should be a soft dull click with the last five or six steps getting louder and slightly brighter. With the last couple of steps there should also be a soft hiss. If this is ok turn the switch fully to the left and plug in a Microphone. The Mic level should turn up in 5 dB steps and be able to boast the softest of levels to proper recording levels.
  • Also Ribbon Microphone should be able to be used with ease because of the 70 dB of gain available.